How to Install and Configure Nginx on AlmaLinux
Learn how to install and configure Nginx on AlmaLinux to set up a web server or reverse proxy and host your web content efficiently and securely.

Introduction
Nginx (pronounced "engine-x") is a popular open-source web server software that is widely used for hosting websites, serving as a reverse proxy, load balancer, and more. It is known for its high performance, stability, and ability to handle a large number of concurrent connections.
AlmaLinux is a free, community-driven Linux distribution designed to be a drop-in replacement for CentOS, which reached its end-of-life in 2021. AlmaLinux is built by the same team that created CentOS and aims to provide a stable, reliable, and fully-supported Linux operating system for businesses and organizations of all sizes.
In this article, we will explore the steps necessary to install and configure Nginx on AlmaLinux, providing you with a powerful and flexible web server solution for your website or application needs. We will cover the prerequisites necessary for installing Nginx, the steps required to install Nginx on AlmaLinux, and how to configure it for basic usage.
Prerequisites
Before installing and configuring Nginx on AlmaLinux, there are a few prerequisites that you should have in place:
- Information on the server that will be used: You will need to have access to a server running AlmaLinux, either a virtual private server (VPS) or a dedicated server. You will need to know the IP address or domain name of the server, as well as the login credentials.
- Access to the server as the root user or a user with
sudoprivileges: In order to install and configure Nginx, you will need to have administrative access to the server. This can be achieved by logging in as the root user or a user withsudoprivileges. - Basic knowledge of the Linux command line: You will need to be comfortable using the Linux command line in order to follow the instructions in this guide. This includes basic commands such as navigating directories, creating and editing files, and managing processes.
Having these prerequisites in place will ensure that you are able to successfully install and configure Nginx on AlmaLinux.
Installing nginx
In this section, we will cover the steps necessary to install Nginx on AlmaLinux.
- Updating the system: Before installing any new software on your system, it is recommended to update the existing packages. To update your system, open a terminal window and run the following command:
sudo dnf update -y
- Check the AlmaLinux version:
cat /etc/redhat-release
Here we are using AlmaLinux 9.3 in your case it could be 8.x or 9.x.
- Adding the Nginx repository to AlmaLinux: Nginx is not available in the default AlmaLinux repositories. We need to add the Nginx repository to the system. To do this, we will create a new file called
nginx.repoin the/etc/yum.repos.d/directory. Open a terminal window and run the following command:
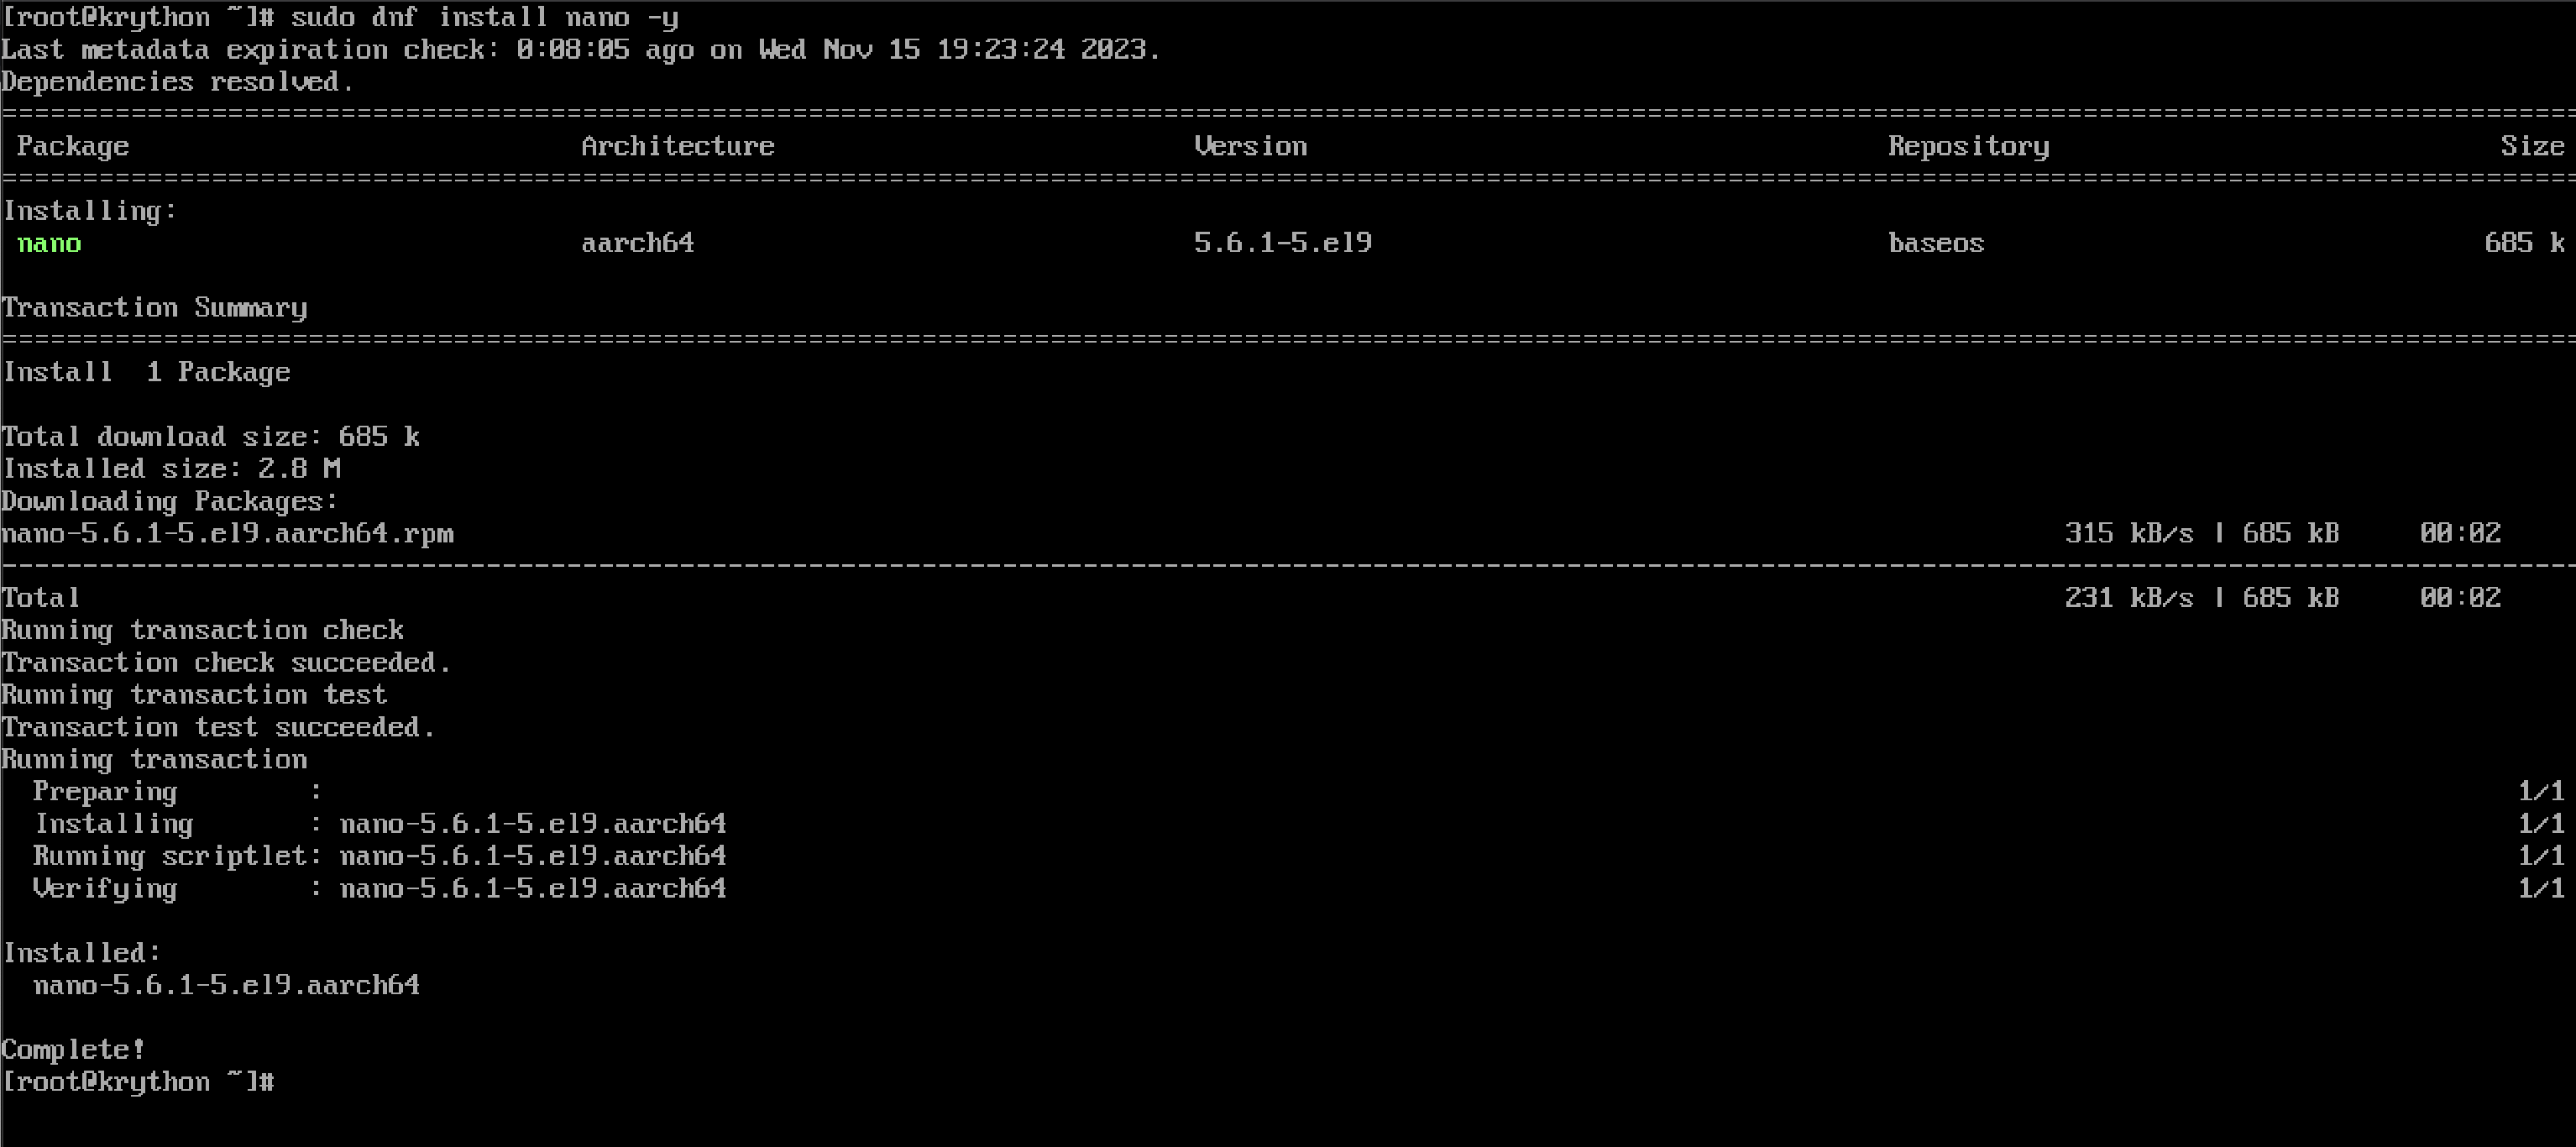
sudo nano /etc/yum.repos.d/nginx.repoIf you get nano: command not found that's mean you've not installed nano editor yet, let's install it:
sudo dnf install nano -y
nano editor on AlmaLinuxNow let's try adding nginx.repo in the /etc/yum.repos.d/ directory again:
sudo nano /etc/yum.repos.d/nginx.repoIf you're running on AlmaLinux 8.x add the following contents to the file:
[nginx]
name=nginx repo
baseurl=http://nginx.org/packages/mainline/centos/8/$basearch/
gpgcheck=0
enabled=1
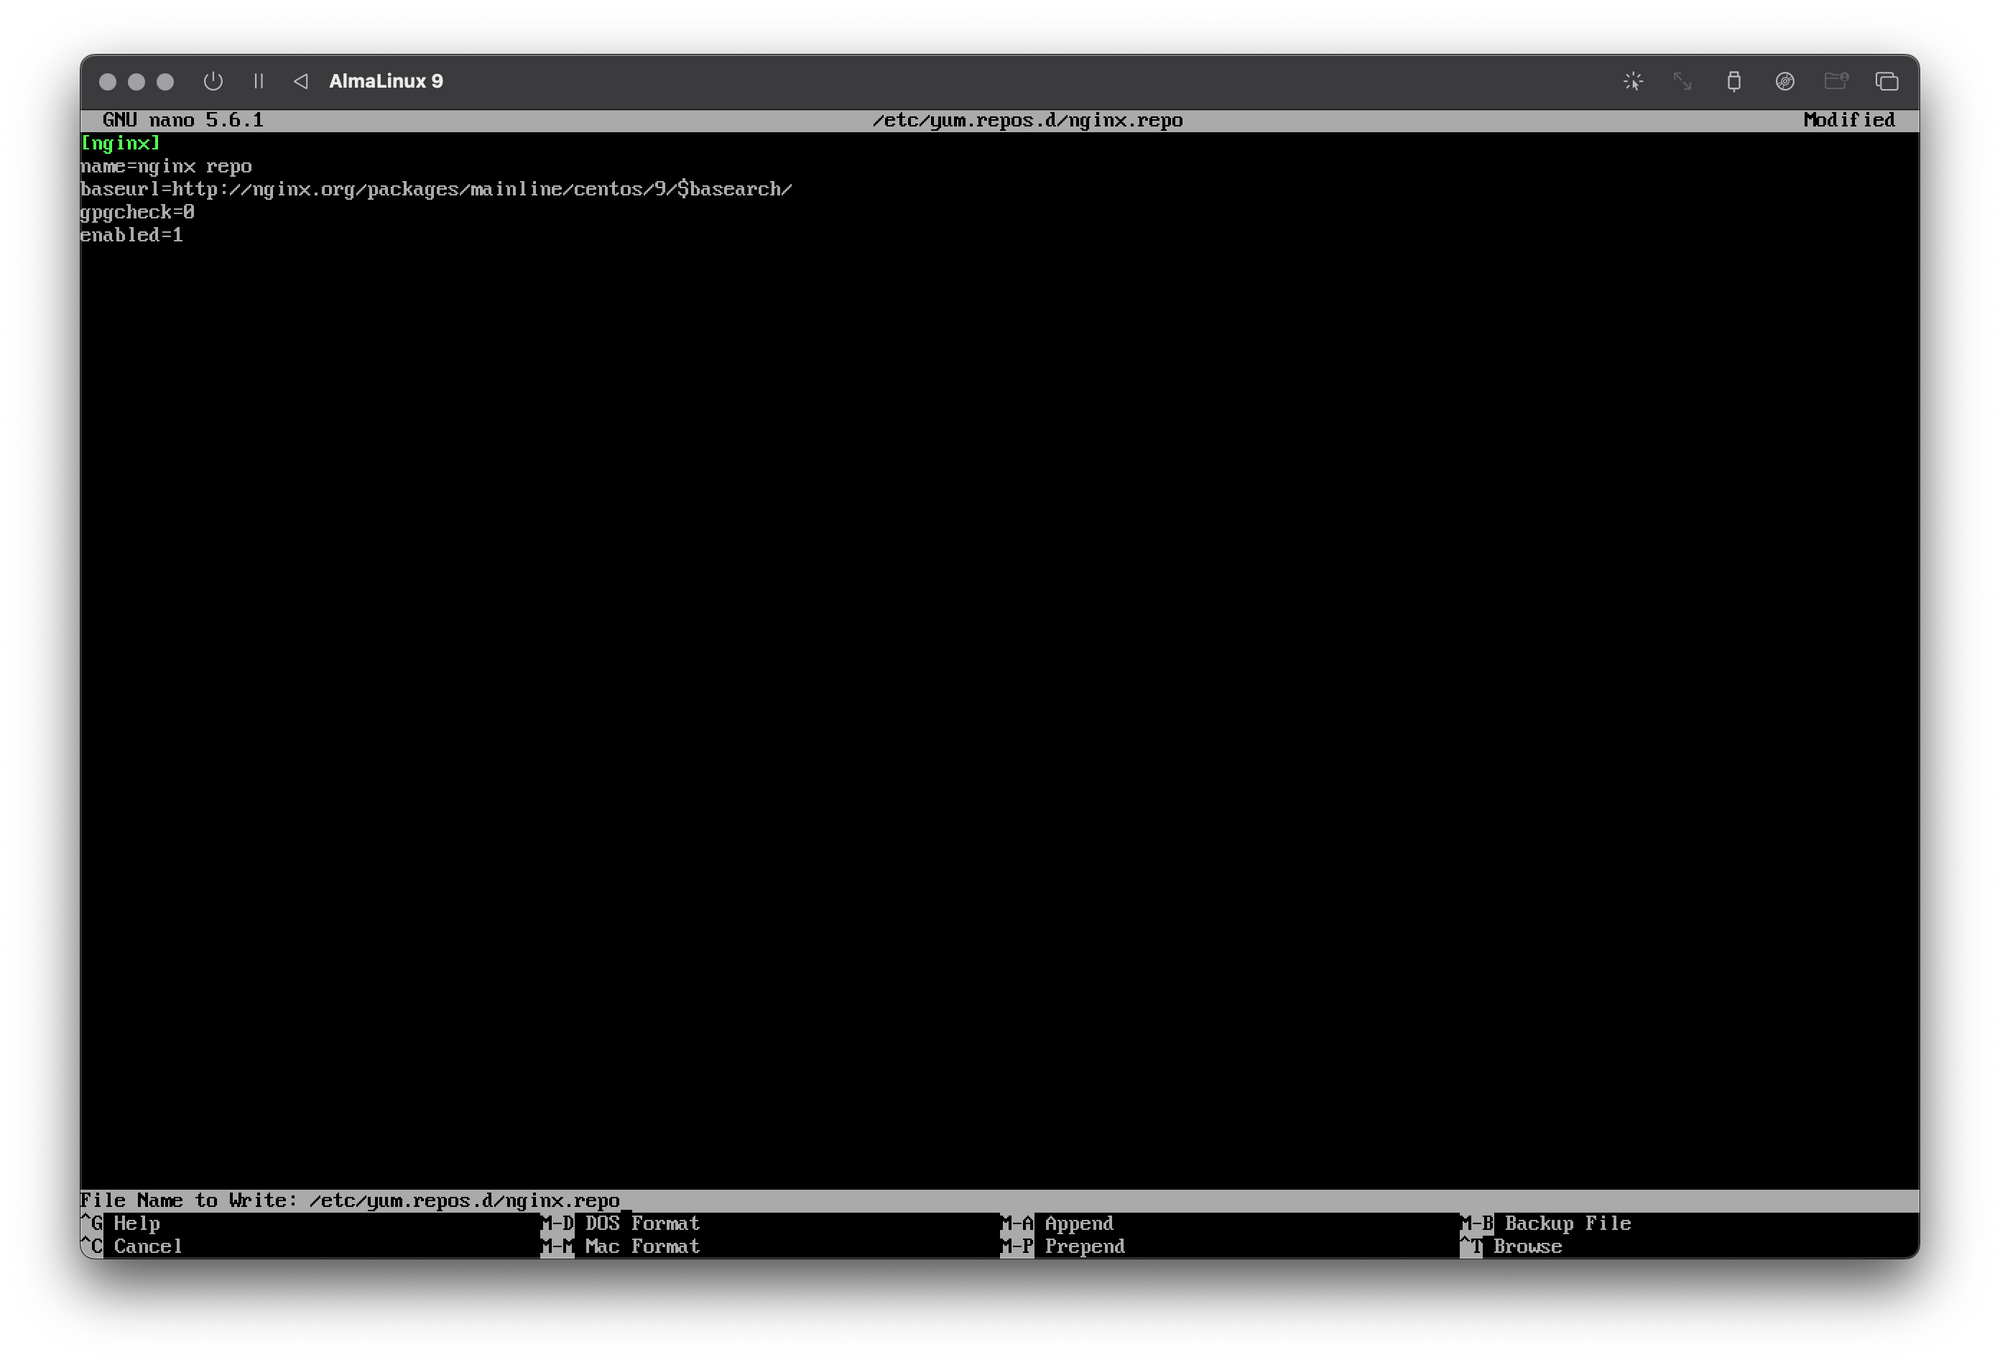
If you're running on AlmaLinux 9.x add the following contents to the file:
[nginx]
name=nginx repo
baseurl=http://nginx.org/packages/mainline/centos/9/$basearch/
gpgcheck=0
enabled=1
Save and close the file by pressing ctrl+x, then y, then enter.

nginx repo for AlmaLinux 9- Installing Nginx using the
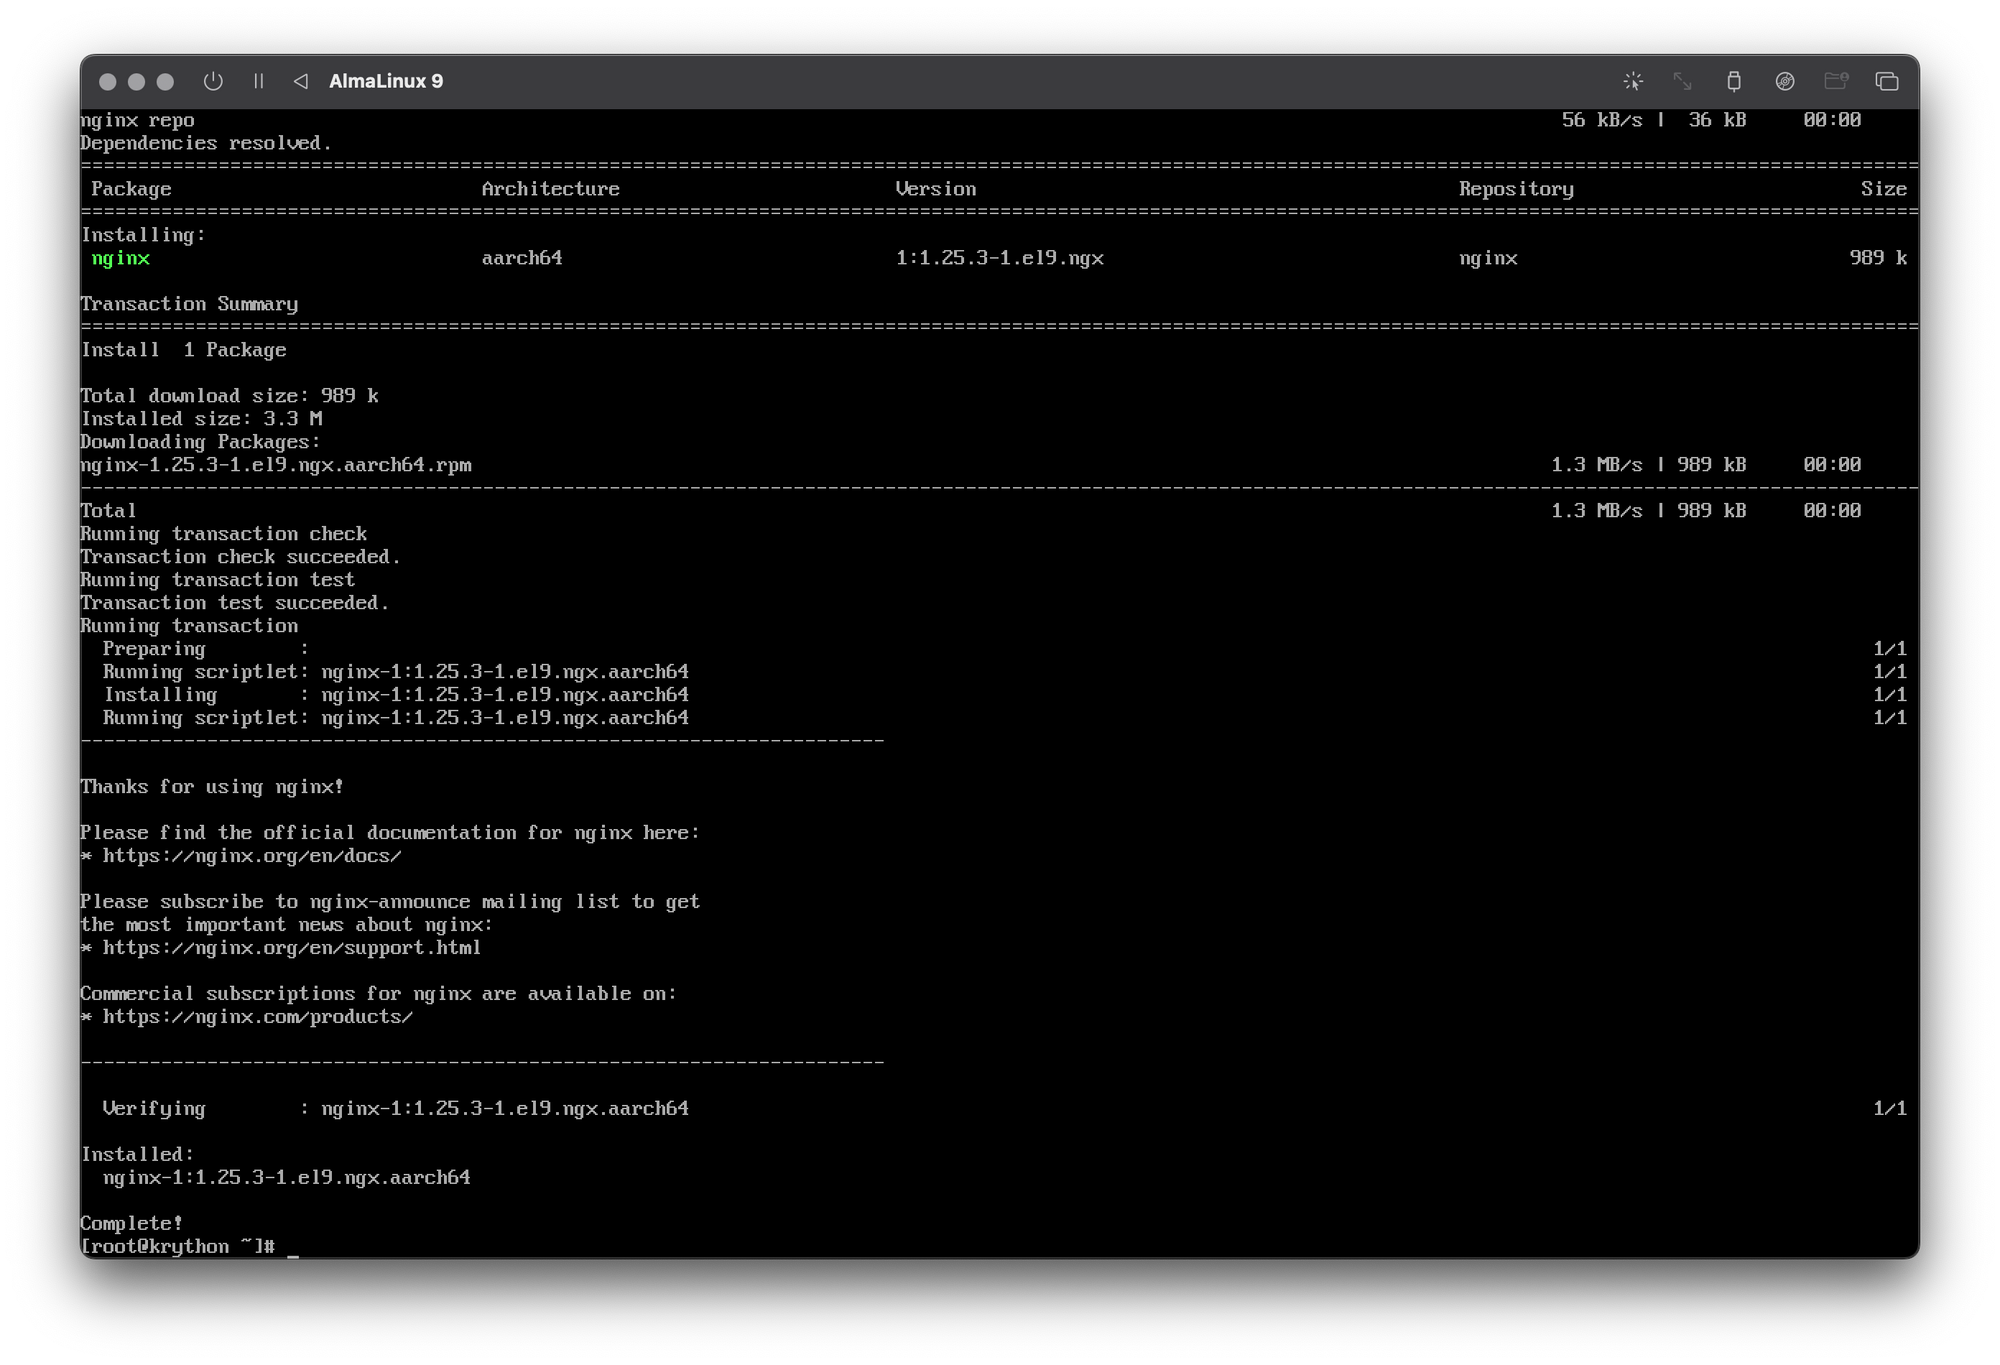
dnfpackage manager: Now that the Nginx repository has been added to your system, we can install Nginx using thednfpackage manager. Run the following command:
sudo dnf install nginx -yThis will download and install the latest version of Nginx on your system.

- Starting and stopping Nginx: Once Nginx is installed, you can start the service using the following command:
sudo systemctl start nginxTo stop the service, run:
sudo systemctl stop nginx- Enabling Nginx to start automatically on system boot: By default, Nginx is not set to start automatically when the system boots up. To enable this, run the following command:
sudo systemctl enable nginxNow Nginx will start automatically whenever your system boots up.
By following these steps, you should now have Nginx installed and running on your AlmaLinux system.
Configuring Nginx
In this section, we will cover the steps necessary to configure Nginx on AlmaLinux.
- Overview of the Nginx configuration file structure: The main configuration file for Nginx is located at
/etc/nginx/nginx.conf. This file contains the main configuration for the Nginx server, including server blocks, upstream servers, and more. The file is divided into sections, each section starting with a keyword in curly braces{}.
- Explanation of how to modify the Nginx configuration file: To modify the Nginx configuration file, you will need to have root access to the server. You can modify the file using any text editor, such as nano or vi. Once you have made your changes, save the file and restart the Nginx service by running the command
sudo systemctl restart nginx.
- Examples of common Nginx configurations: There are many different ways to configure Nginx, depending on your specific needs. Here are a few common examples:
- Serving a static website: To serve a static website, you will need to create a server block in the Nginx configuration file. The server block should contain a
rootdirective that points to the directory where your website files are located. Here is an example:
server {
    listen 80;
    server_name example.com www.example.com;
    root /var/www/html;
    index index.html;
}
This server block listens on port 80, sets the server name to example.com and www.example.com, sets the root directory to /var/www/html, and sets the default index file to index.html.
- Proxying requests to a backend server: To proxy requests to a backend server, you will need to create an upstream block and a server block in the Nginx configuration file. Here is an example:
upstream backend {
    server backend1.example.com:8080;
    server backend2.example.com:8080;
}

server {
    listen 80;
    server_name example.com www.example.com;
    location / {
        proxy_pass http://backend;
        proxy_set_header Host $host;
        proxy_set_header X-Real-IP $remote_addr;
        proxy_set_header X-Forwarded-For $proxy_add_x_forwarded_for;
    }
}
This configuration sets up an upstream block with two backend servers, and a server block that listens on port 80 and proxies requests to the backend servers. The proxy_pass directive tells Nginx to forward requests to the backend upstream block, and the proxy_set_header directives add headers to the request to pass along information such as the client's IP address.
- Testing the Nginx configuration: After making changes to the Nginx configuration file, it is important to test the configuration to ensure that there are no syntax errors. To do this, run the command
sudo nginx -t. This will check the syntax of the configuration file and report any errors. If there are no errors, you can restart the Nginx service by running the commandsudo systemctl restart nginx.
By following these steps, you should now have a basic understanding of how to configure Nginx on AlmaLinux. With this knowledge, you can create custom configurations to meet the needs of your specific website or application.
Conclusion
In conclusion, Nginx is a powerful and popular web server and reverse proxy that can be easily installed and configured on AlmaLinux. In this article, we covered the prerequisites for installing Nginx, the steps to install it using the dnf package manager, and how to configure and customize Nginx to meet your needs. We also provided examples of basic usage scenarios such as hosting a static website and setting up a reverse proxy.
With this knowledge, you should be able to set up and configure Nginx on your AlmaLinux server and use it to serve web content efficiently and securely. Keep in mind that there are many more advanced features and use cases for Nginx, so feel free to explore the official documentation and community resources for more information.


