How to Install and Configure Fail2Ban on AlmaLinux
Secure your AlmaLinux server! Learn to install and configure Fail2Ban, a powerful tool that guards against unauthorized access. Follow our step-by-step guide to strengthen your server's defenses and keep it safe from potential threats.

Strengthen the security of your AlmaLinux server with Fail2Ban, a robust tool that guards against unauthorized access by monitoring system logs and thwarting suspicious activities. In this comprehensive guide, we'll explore advanced methods for installing and configuring Fail2Ban, empowering you to fortify your server defenses.
Installing Fail2Ban
Kickstart the process by updating your system and installing EPEL repository & Fail2Ban:
sudo dnf update -y && sudo dnf install epel-release -y
sudo dnf install fail2ban -y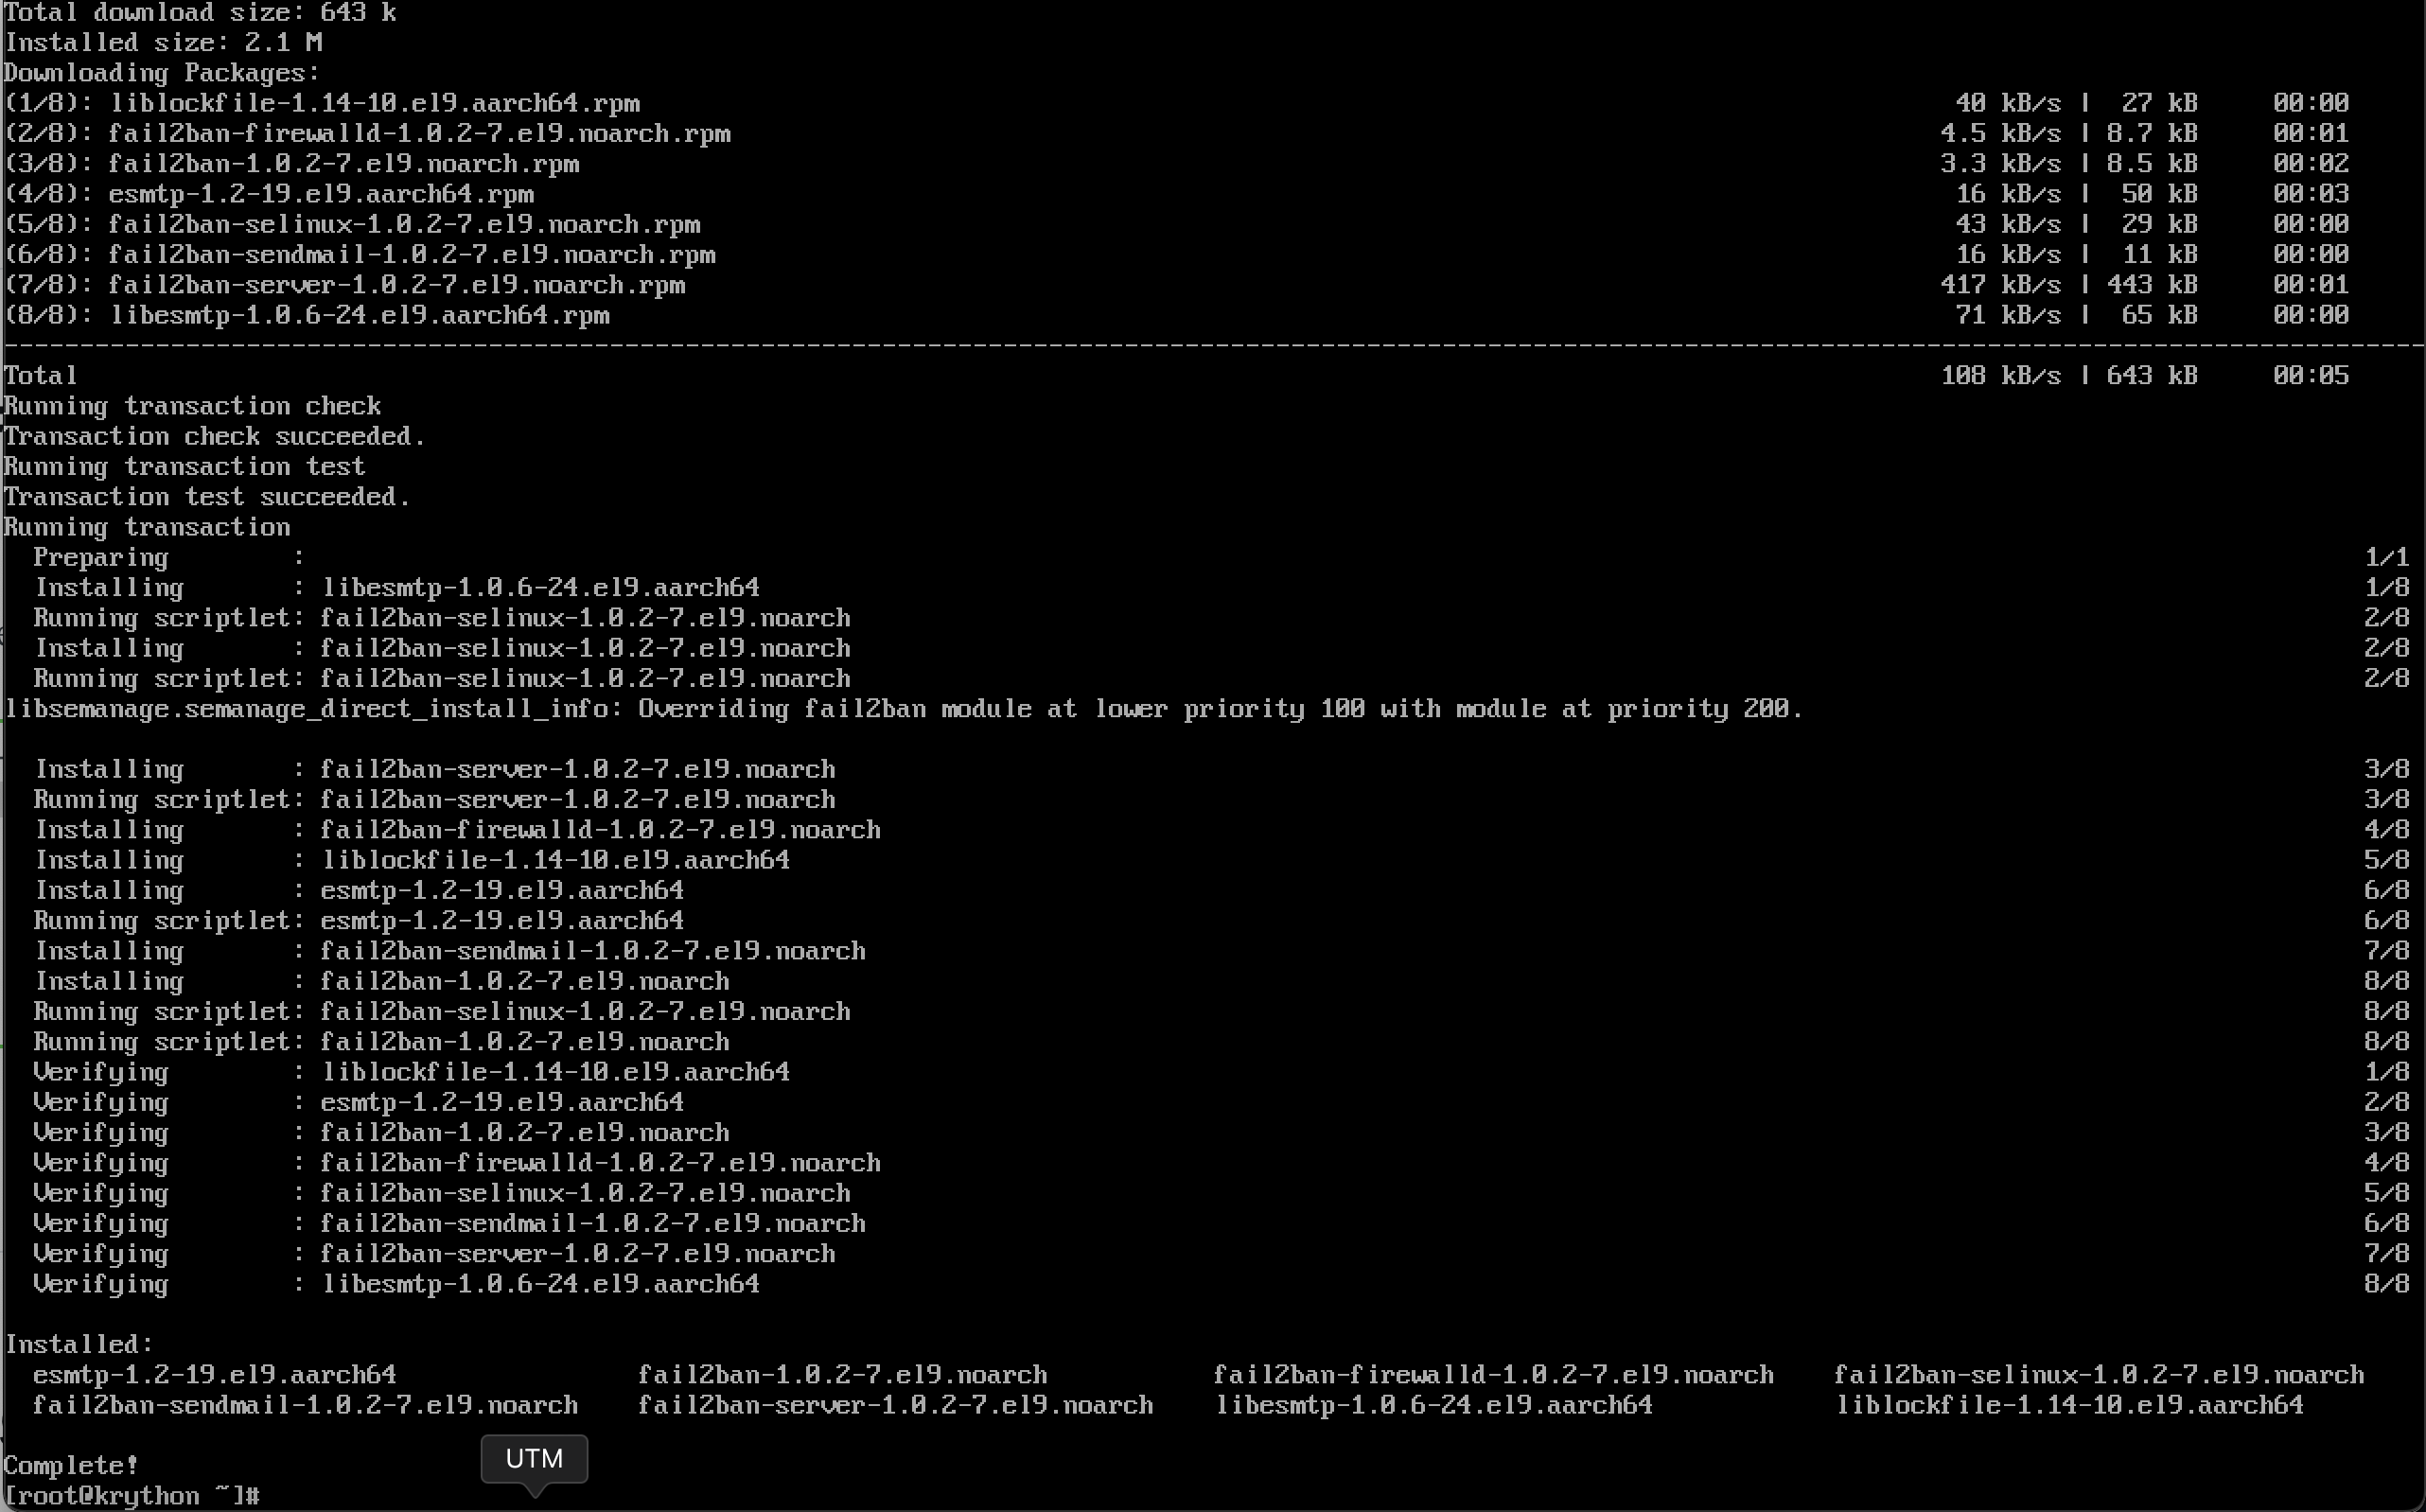
fail2ban completed(Optional) If you would like email support, install Sendmail:
sudo dnf install sendmail -yStart and enable Fail2Ban
sudo systemctl start fail2ban
sudo systemctl enable fail2ban
Configuring Fail2Ban
fail2ban.conf contains the default configuration profile. The default settings give you a reasonable working setup. If you want to make any changes, it’s best to do it in a separate file, fail2ban.local, which overrides fail2ban.conf.
- Rename a copy
fail2ban.conftofail2ban.local
cp /etc/fail2ban/fail2ban.conf /etc/fail2ban/fail2ban.localFrom here, you can opt to edit the definitions in fail2ban.local to match your desired configuration.
The values that can be changed are:
loglevel: The level of detail that Fail2ban’s logs provide can be set to 1 (error), 2 (warn), 3 (info), or 4 (debug).logtarget: Logs actions into a specific file. The default value of/var/log/fail2ban.logputs all logging into the defined file. Alternately, you can change the value to:STDOUT: output any dataSTDERR: output any errorsSYSLOG: message-based loggingFILE: output to a file
socket: The location of the socket file.pidfile: The location of the PID file.
- Edit Configuration File and Change the
backend
Open the Fail2Ban configuration file to tailor it to your server's needs:
sudo nano /etc/fail2ban/jail.localYou need to change the backend option in jail.local from auto to systemd.
backend = systemd
backend value to systemd- Define Custom Jails
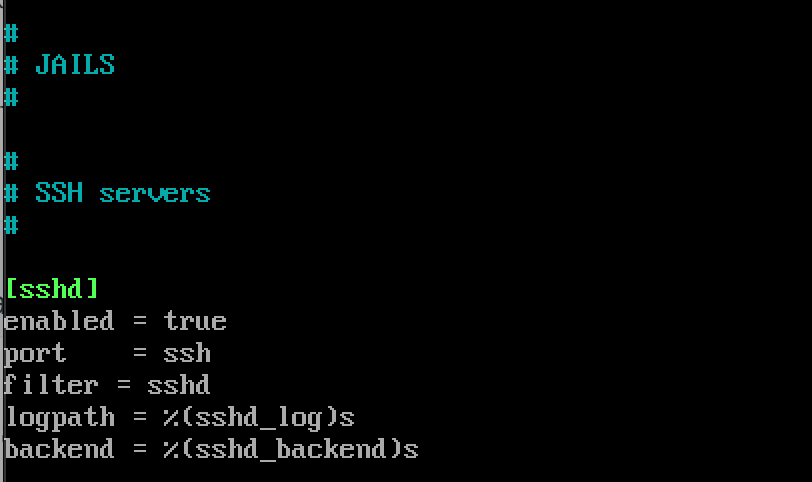
Customize jails for specific services by adding entries. For instance, securing SSH access:
[sshd]
enabled = true
port = ssh
filter = sshd
Replace sshd with the desired service, adjusting settings accordingly.
- Configure Action
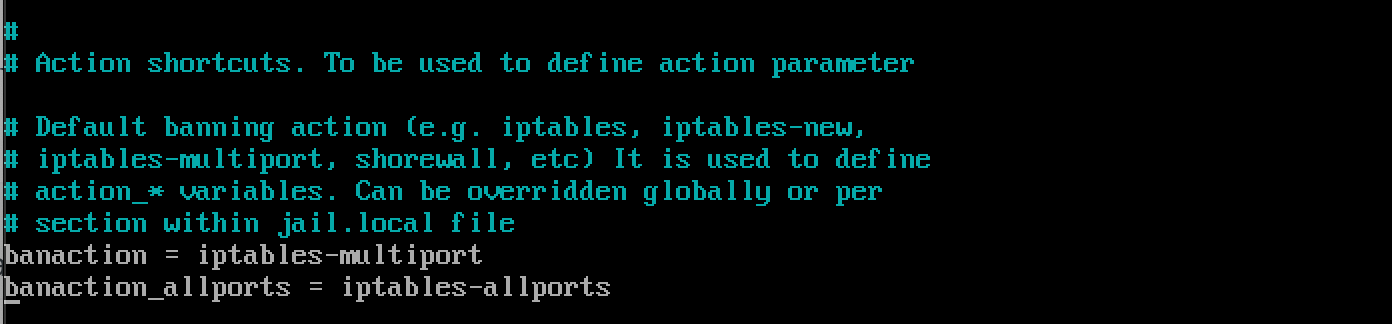
Optimize security by modifying the action settings:
[DEFAULT]
banaction = iptables-multiport
Ensure the settings align with your server environment.
- Restart and Check Status of Fail2Ban
Apply your configurations by restarting Fail2Ban:
sudo systemctl restart fail2ban
sudo systemctl status fail2ban
Monitor Fail2Ban Status
Check the status and view banned IP addresses:
sudo fail2ban-client status
sudo fail2ban-client status sshd
Adjusting Banning Time and Threshold
Fine-tune the banning time and threshold in the jail.local file:
[DEFAULT]
bantime = 1h
maxretry = 5
Adapt these values based on your specific security requirements.
Creating Custom Filters
Craft custom filters for specific log entries to bolster detection:
sudo nano /etc/fail2ban/filter.d/your_custom_filter.confDefine filter patterns tailored to your server's logs, enhancing Fail2Ban's effectiveness.
Monitoring Log Files
Stay vigilant by regularly monitoring log files for potential security threats:
tail -f /var/log/fail2ban.logConclusion
By implementing Fail2Ban on AlmaLinux and customizing its configuration, you establish a resilient defense against malicious activities. Regularly monitor logs, fine-tune settings, and adapt to evolving security needs to keep your server secure.
If you encounter challenges or have insights, share your thoughts in the comments below. Boost your server's resilience today!
Enjoying our content? Your support keeps us going! 🚀
Consider buying us a coffee to help fuel our creativity.