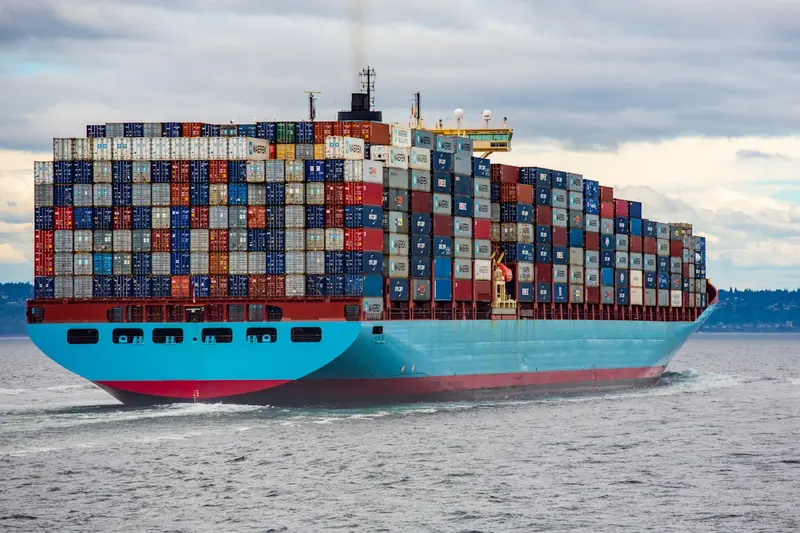
I’ll teach you how to create custom container images with Podman on Alpine Linux! Podman is like Docker but doesn’t need a daemon. It’s perfect for building and running containers safely.
🤔 What is Podman?
Podman lets you create and run containers without root access. It’s compatible with Docker but more secure. Think of containers as lightweight, portable boxes for your apps.
Why use Podman?
- No daemon needed
- Rootless containers
- Docker-compatible
- More secure
- Easy to learn
🎯 What You Need
Before we start, you need:
- Alpine Linux installed
- Some disk space (2GB+)
- Internet connection
- Basic terminal skills
📋 Step 1: Install Podman
First, let’s install Podman:
# Update packages
apk update

# Install Podman
apk add podman

# Check version
podman --version
Enable container features:
# Add to startup
rc-update add cgroups

# Start service
rc-service cgroups start
📋 Step 2: Pull a Base Image
Let’s get an Alpine base image:
# Pull Alpine image
podman pull alpine:latest

# List images
podman images

# Check image details
podman inspect alpine:latest
📋 Step 3: Create Your First Container
Run a container and explore:
# Run interactive container
podman run -it alpine:latest /bin/sh

# Inside container, try:
cat /etc/os-release
apk add curl
exit
📋 Step 4: Build a Custom Image
Create a Containerfile (like Dockerfile):
# Create project directory
mkdir ~/my-app
cd ~/my-app

# Create Containerfile
cat > Containerfile << 'EOF'
FROM alpine:latest

# Install packages
RUN apk add --no-cache \
    python3 \
    py3-pip \
    curl

# Set working directory
WORKDIR /app

# Copy app files
COPY app.py /app/

# Expose port
EXPOSE 8080

# Run command
CMD ["python3", "app.py"]
EOF
Create a simple app:
cat > app.py << 'EOF'
#!/usr/bin/env python3
print("Hello from my custom container!")
print("Container is working great!")

# Simple web server
import http.server
import socketserver

PORT = 8080
Handler = http.server.SimpleHTTPRequestHandler

with socketserver.TCPServer(("", PORT), Handler) as httpd:
    print(f"Server running on port {PORT}")
    httpd.serve_forever()
EOF
📋 Step 5: Build Your Image
Now build the custom image:
# Build image
podman build -t my-app:v1 .

# Check if built
podman images

# Test the image
podman run --rm my-app:v1
📋 Step 6: Run and Test
Run your custom container:
# Run in background
podman run -d -p 8080:8080 --name myapp my-app:v1

# Check if running
podman ps

# Check logs
podman logs myapp

# Test web server
curl http://localhost:8080
🎮 Practice Exercise
Let’s create a more complex image:
- Create a web app container
- Add custom configuration
- Build and test it
# Create new project
mkdir ~/web-app && cd ~/web-app

# Create Containerfile
cat > Containerfile << 'EOF'
FROM alpine:latest

RUN apk add --no-cache nginx

COPY index.html /usr/share/nginx/html/
COPY nginx.conf /etc/nginx/

EXPOSE 80

CMD ["nginx", "-g", "daemon off;"]
EOF

# Create HTML file
echo "<h1>My Custom Podman App!</h1>" > index.html

# Create nginx config
cat > nginx.conf << 'EOF'
events {}
http {
    server {
        listen 80;
        root /usr/share/nginx/html;
    }
}
EOF

# Build and run
podman build -t web-app .
podman run -d -p 8081:80 web-app
🚨 Troubleshooting Common Issues
Build Fails
If build doesn’t work:
# Check Containerfile syntax
podman build --help

# Try with more output
podman build -t my-app . --log-level=debug

# Clean up and retry
podman system prune -a
Container Won’t Start
Container crashes immediately?
# Check logs
podman logs container-name

# Run interactively to debug
podman run -it my-app:v1 /bin/sh

# Check entrypoint
podman inspect my-app:v1 | grep -A5 Cmd
Permission Issues
Getting permission errors?
# Run rootless
podman unshare cat /proc/self/uid_map

# Fix storage permissions
podman system migrate

# Reset if needed
podman system reset
💡 Pro Tips
Tip 1: Multi-stage Builds
Build smaller images:
# Build stage
FROM alpine:latest as builder
RUN apk add gcc musl-dev
COPY src/ /build/
RUN gcc -o app /build/main.c

# Final stage
FROM alpine:latest
COPY --from=builder /build/app /usr/local/bin/
CMD ["app"]
Tip 2: Layer Caching
Speed up builds:
# Use cache efficiently
podman build --layers -t my-app .

# Force rebuild
podman build --no-cache -t my-app .
Tip 3: Image Optimization
Keep images small:
# Combine RUN commands
RUN apk add --no-cache package1 package2 && \
    rm -rf /var/cache/apk/*

# Use specific versions
FROM alpine:3.19
✅ Verification Steps
Let’s verify everything works:
# List all images
podman images

# Check running containers
podman ps -a

# Test container
podman run --rm my-app:v1 echo "Success!"

# Export image
podman save -o my-app.tar my-app:v1
🏆 What You Learned
Great job! You can now:
- ✅ Install and use Podman
- ✅ Pull base images
- ✅ Create Containerfiles
- ✅ Build custom images
- ✅ Run containers
You’re ready for containerization!
🎯 What’s Next?
Now that you can build images, try:
- Creating multi-container apps
- Using podman-compose
- Setting up registries
- Building CI/CD pipelines
Remember, containers make deployment so much easier. I use them for everything now! Start simple and build up your skills.
Happy containerizing! 🚀


