
Strengthen the security of your AlmaLinux server with Fail2Ban, a robust tool that guards against unauthorized access by monitoring system logs and thwarting suspicious activities.
Installing Fail2Ban
Kickstart the process by updating your system and installing EPEL repository & Fail2Ban:
sudo dnf update -y && sudo dnf install epel-release -y
sudo dnf install fail2ban -y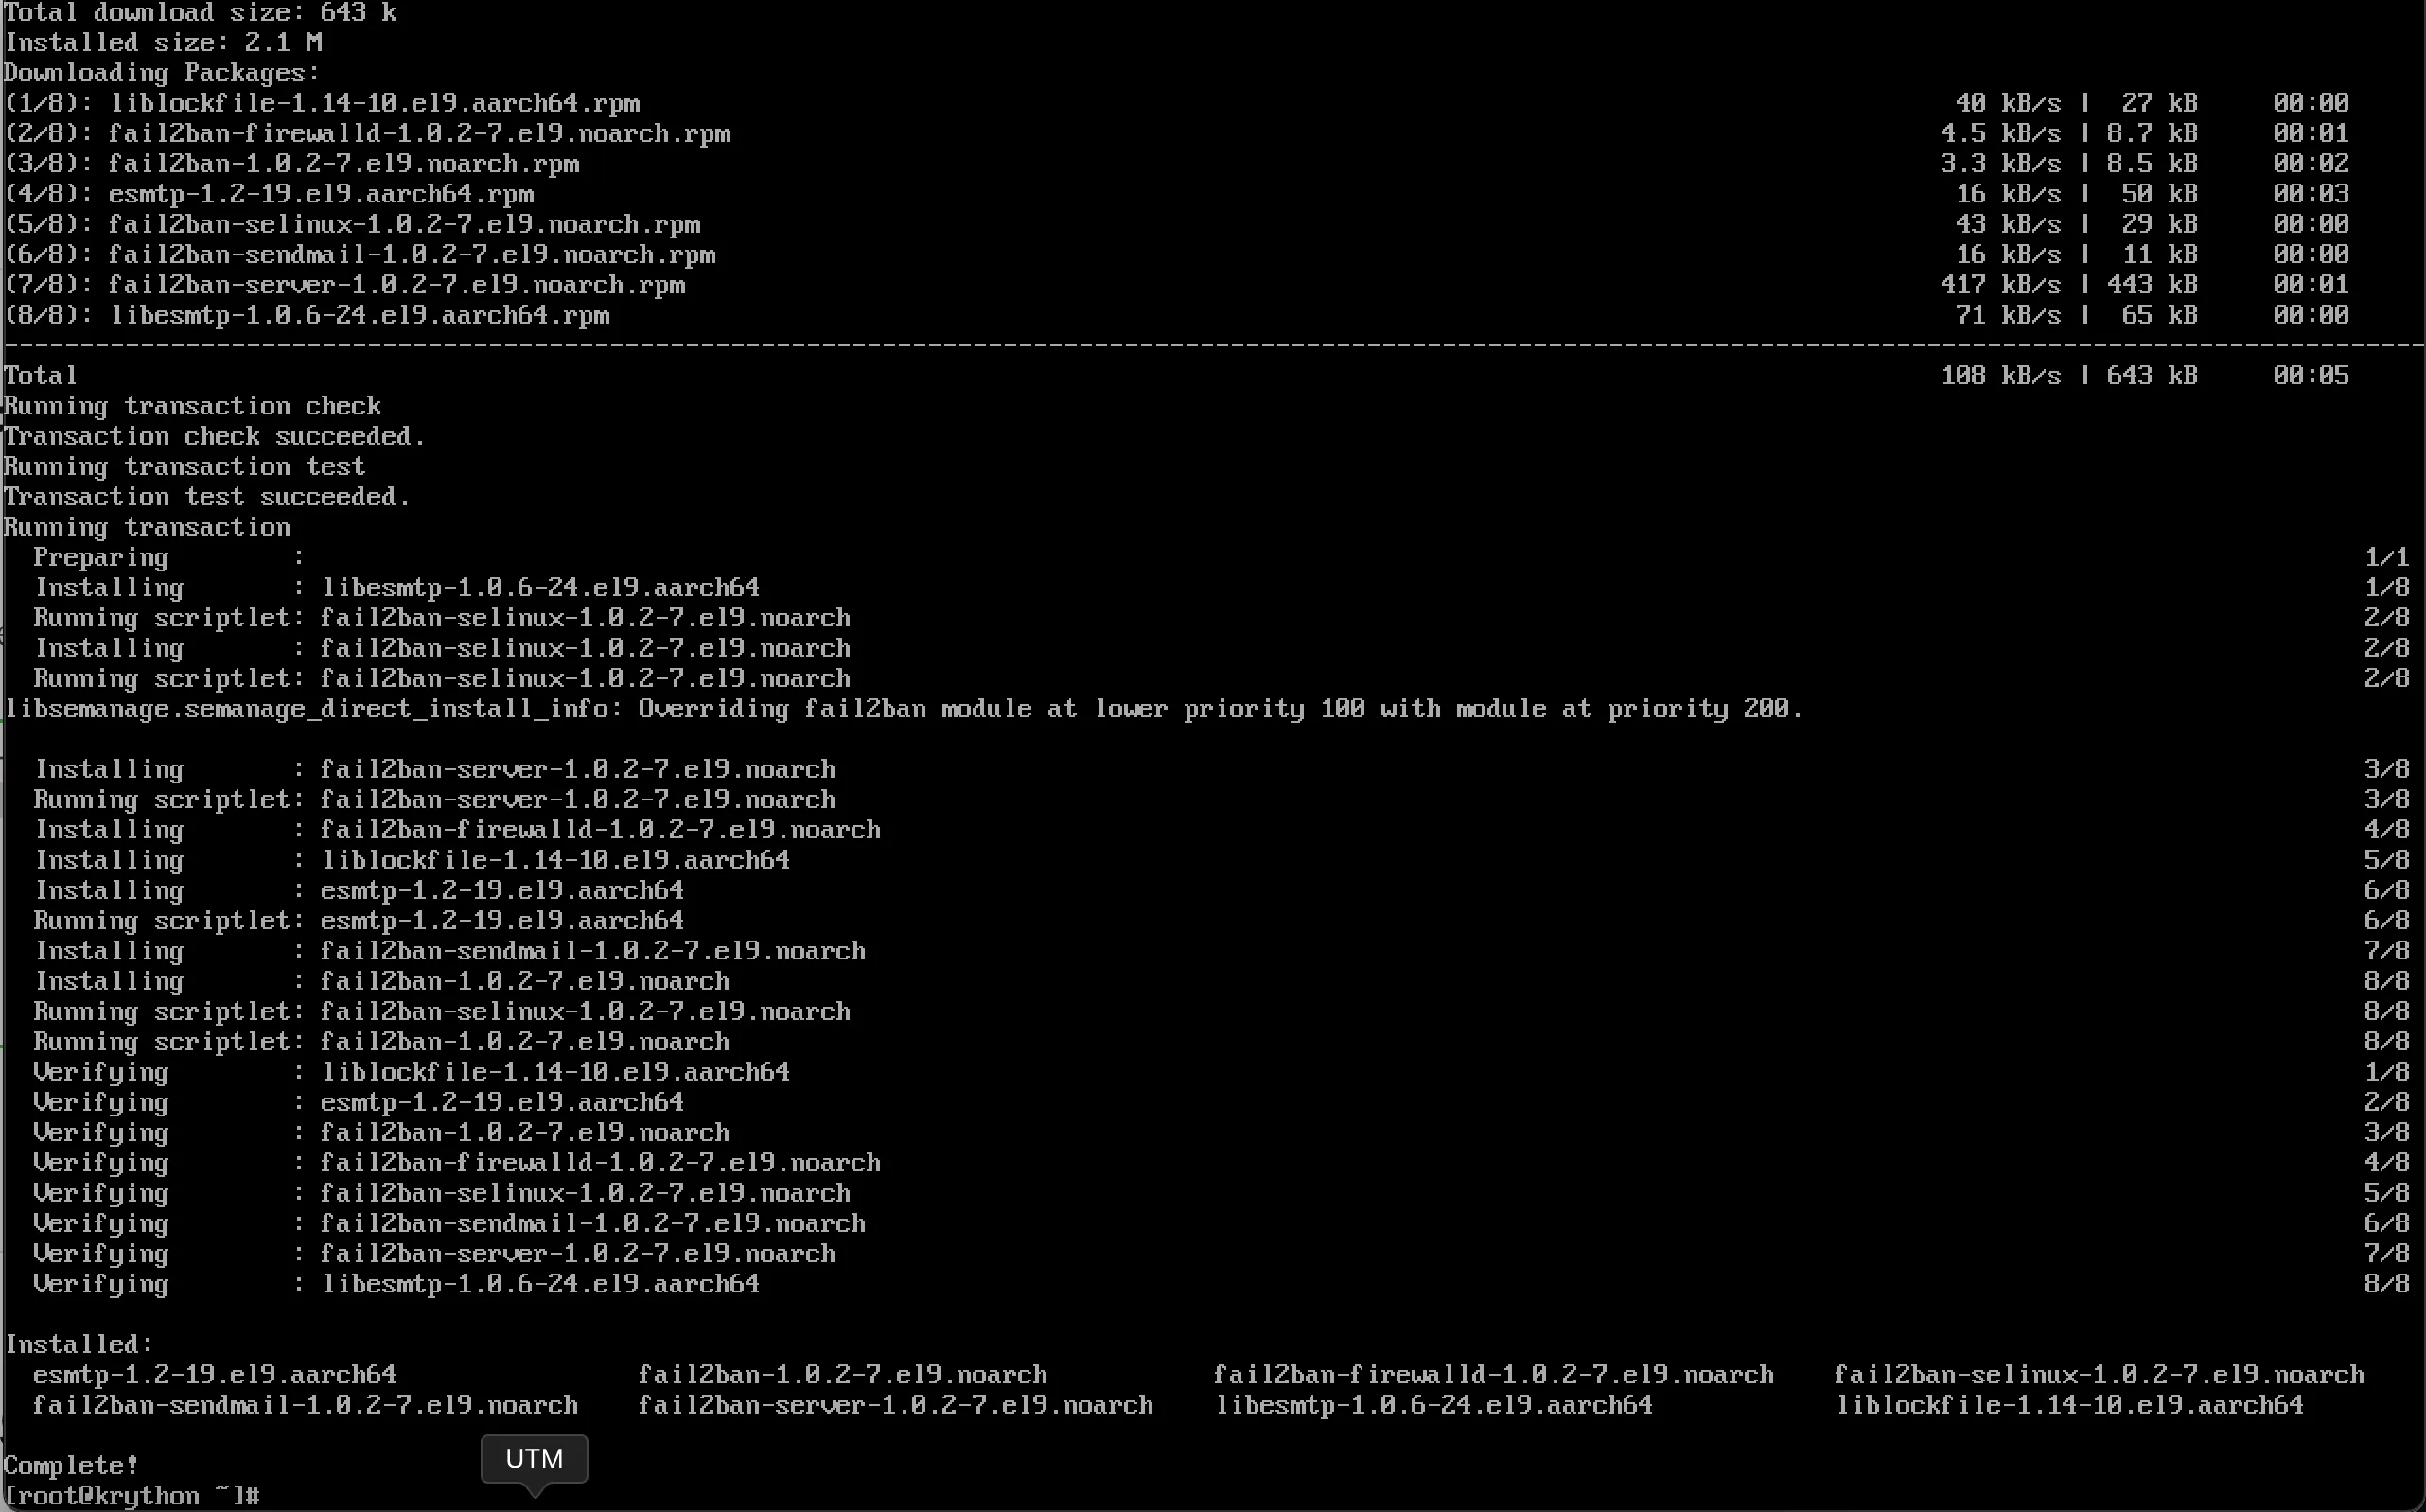
(Optional) If you would like email support, install Sendmail:
sudo dnf install sendmail -yStart and Enable Fail2Ban
sudo systemctl start fail2ban
sudo systemctl enable fail2ban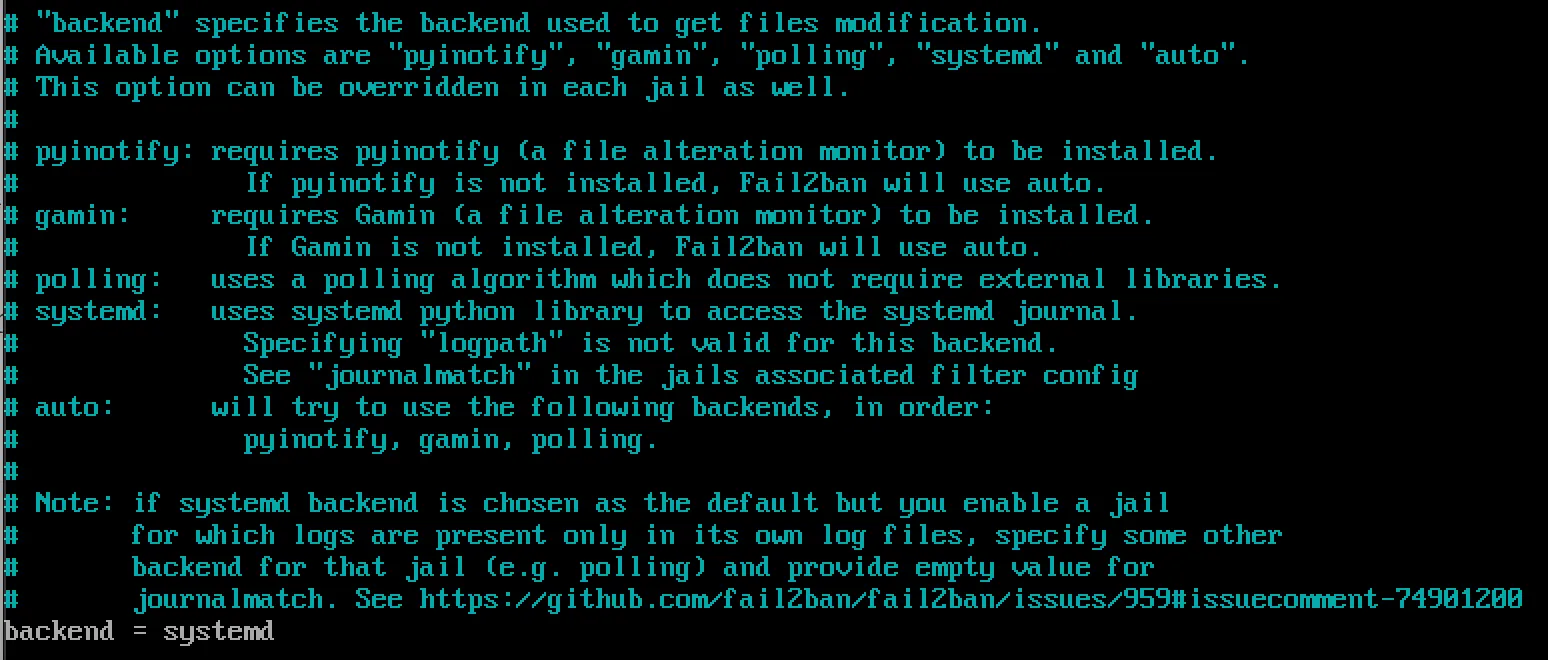
Configuring Fail2Ban
fail2ban.conf contains the default configuration profile. The default settings give you a reasonable working setup. If you want to make any changes, it’s best to do it in a separate file, fail2ban.local, which overrides fail2ban.conf.
- Rename a copy
fail2ban.conftofail2ban.local:
cp /etc/fail2ban/fail2ban.conf /etc/fail2ban/fail2ban.localThe values that can be changed are:
loglevel: The level of detail that Fail2ban’s logs providelogtarget: Logs actions into a specific filesocket: The location of the socket filepidfile: The location of the PID file
- Edit Configuration File and Change the
backend:
sudo nano /etc/fail2ban/jail.local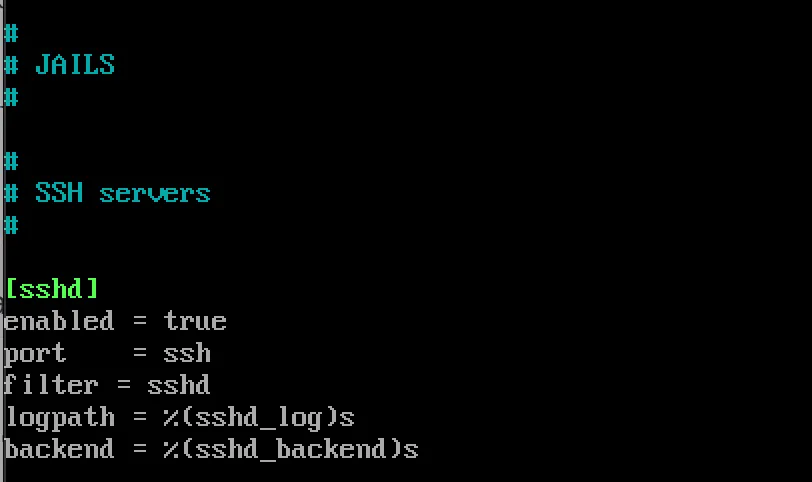
Change the backend option to systemd:
backend = systemd- Define Custom Jails
Customize jails for specific services by adding entries:
[sshd]
enabled = true
port = ssh
filter = sshd- Configure Action
[DEFAULT]
banaction = iptables-multiport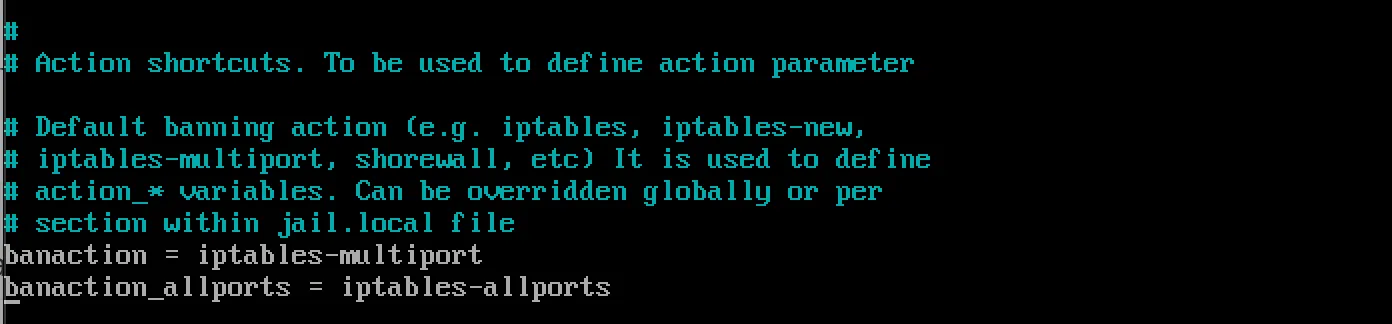
Monitor Fail2Ban Status
sudo fail2ban-client status
sudo fail2ban-client status sshd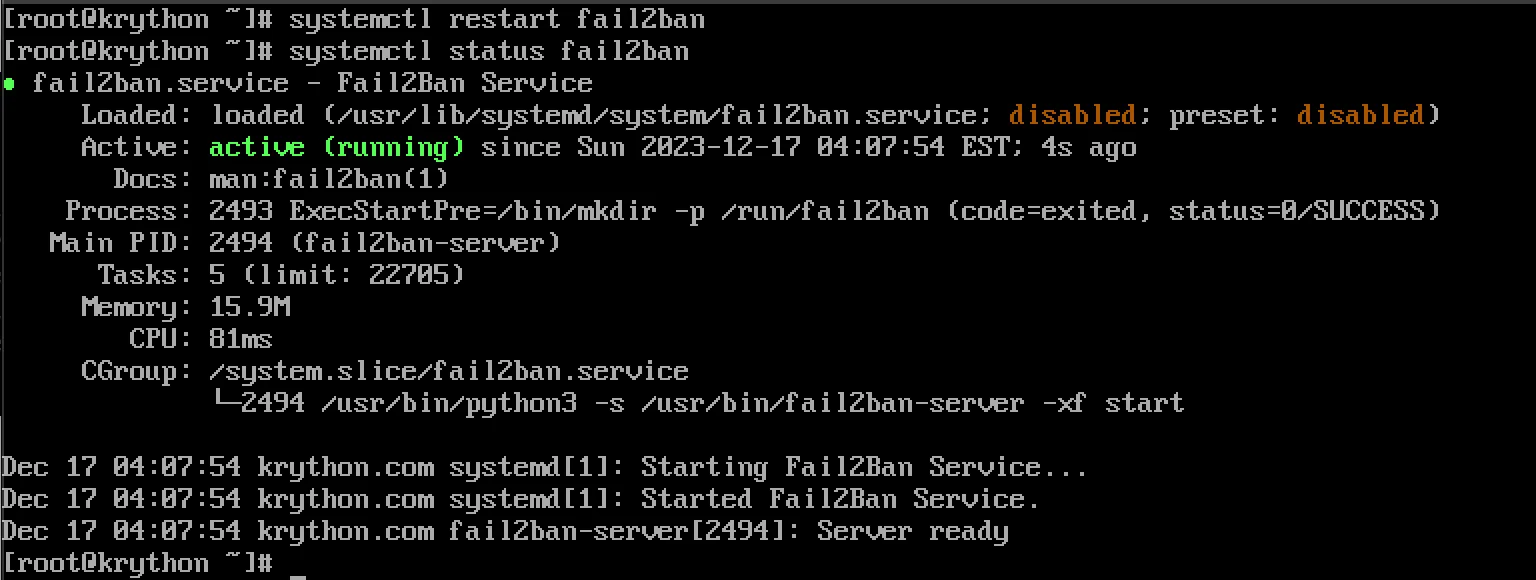
Monitor log files:
tail -f /var/log/fail2ban.logTroubleshooting
Check Service Status
sudo systemctl status fail2banRestart Fail2Ban
sudo systemctl restart fail2banView Banned IPs
sudo fail2ban-client status sshdUnban an IP Address
sudo fail2ban-client set sshd unbanip IP_ADDRESSBest Practices
- Regular Monitoring: Check logs frequently for security events
- Custom Filters: Create filters for specific applications
- Email Notifications: Configure email alerts for bans
- Backup Configuration: Save your custom configurations
- Update Regularly: Keep Fail2Ban updated for latest security features
Conclusion
By implementing Fail2Ban on AlmaLinux, you establish a resilient defense against malicious activities. Regular monitoring and fine-tuning of settings will help you adapt to evolving security needs and maintain a robust server environment.